
Roger Küng
Head of Operations EnergyCuringRAHN AG

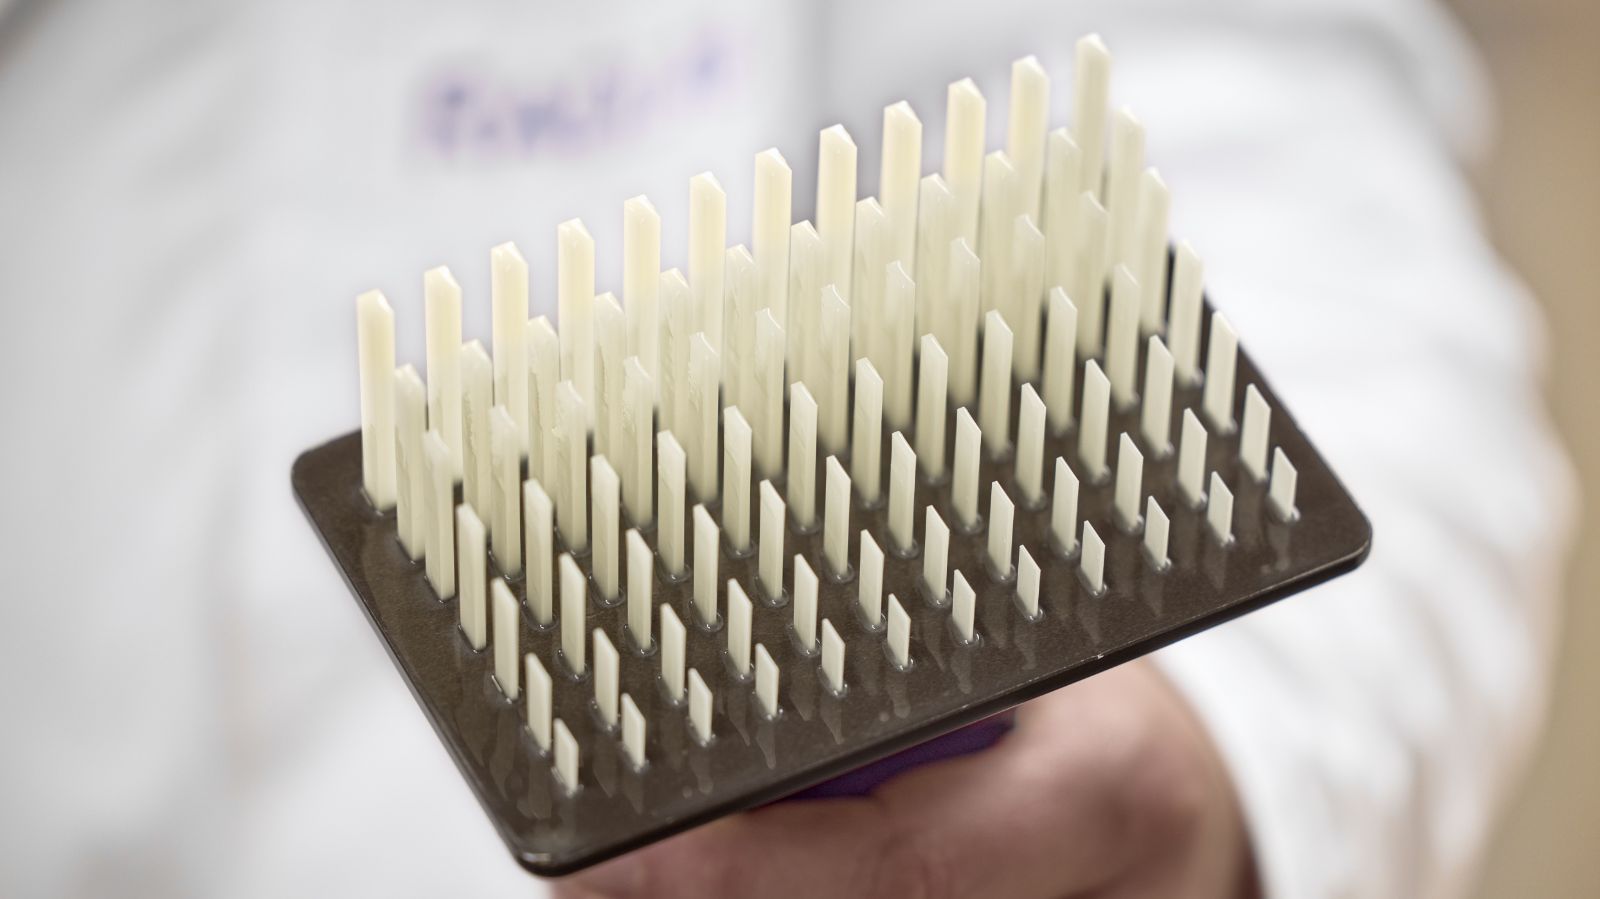
3D printing with photopolymer resins unlocks the ability to produce intricate, high-strength components for industries such as aerospace, automotive, and biomedical engineering. However, consistent quality hinges on one critical factor: calibration. Without proper printer calibration, even the most advanced printers and premium resins can yield flawed results.
This 3D printer calibration guide explores the importance of calibration, how to execute it effectively using a specialized calibration template, and practical tips for optimizing your resin formulations.
Before diving into the calibration workflow and diagnostic methods, it is useful to clarify what calibration means in the context of photopolymer resin 3D printing.
3D printing calibration is the process of adjusting and validating printing parameters so that digital designs are reproduced accurately in physical form.
In photopolymer resin printing, this primarily involves fine-tuning exposure settings to balance dimensional accuracy, surface quality, and mechanical integrity. Proper calibration ensures that features such as pins, holes, and fine details are printed as intended and remain consistent across multiple builds.
A well-designed calibration template translates abstract exposure settings into measurable, physical outcomes.
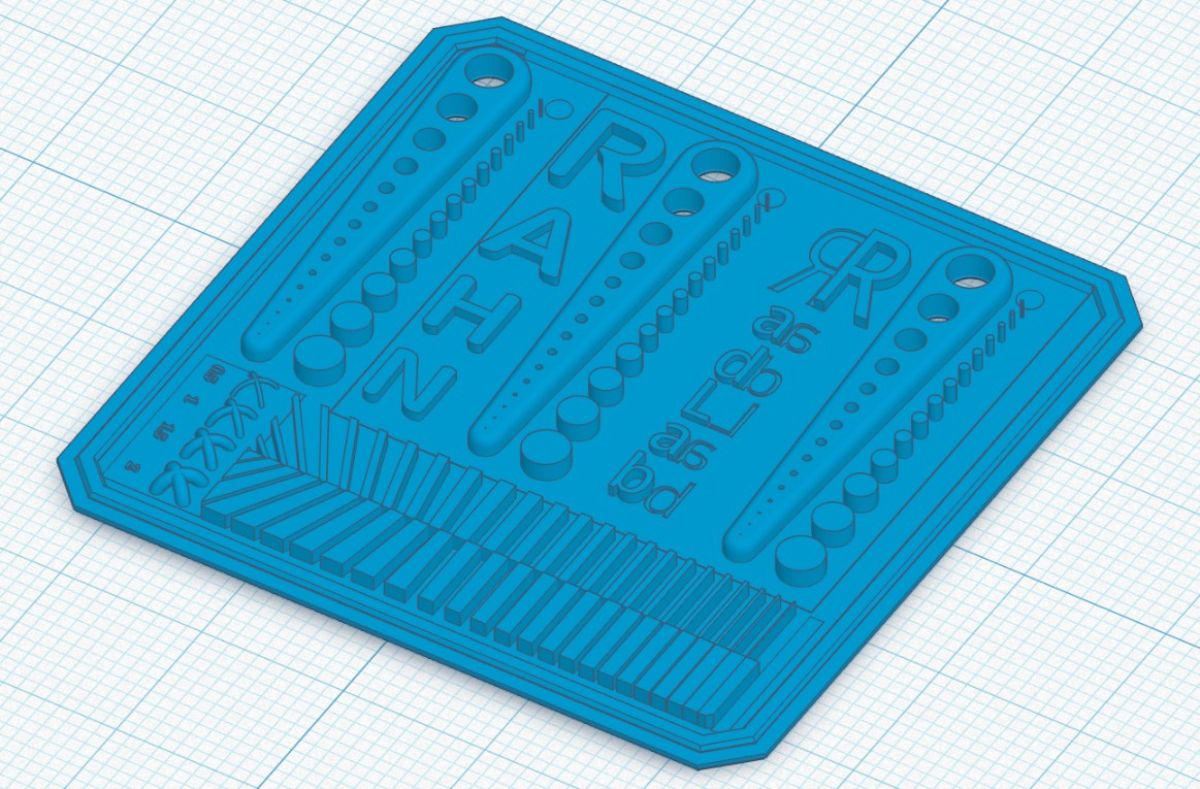
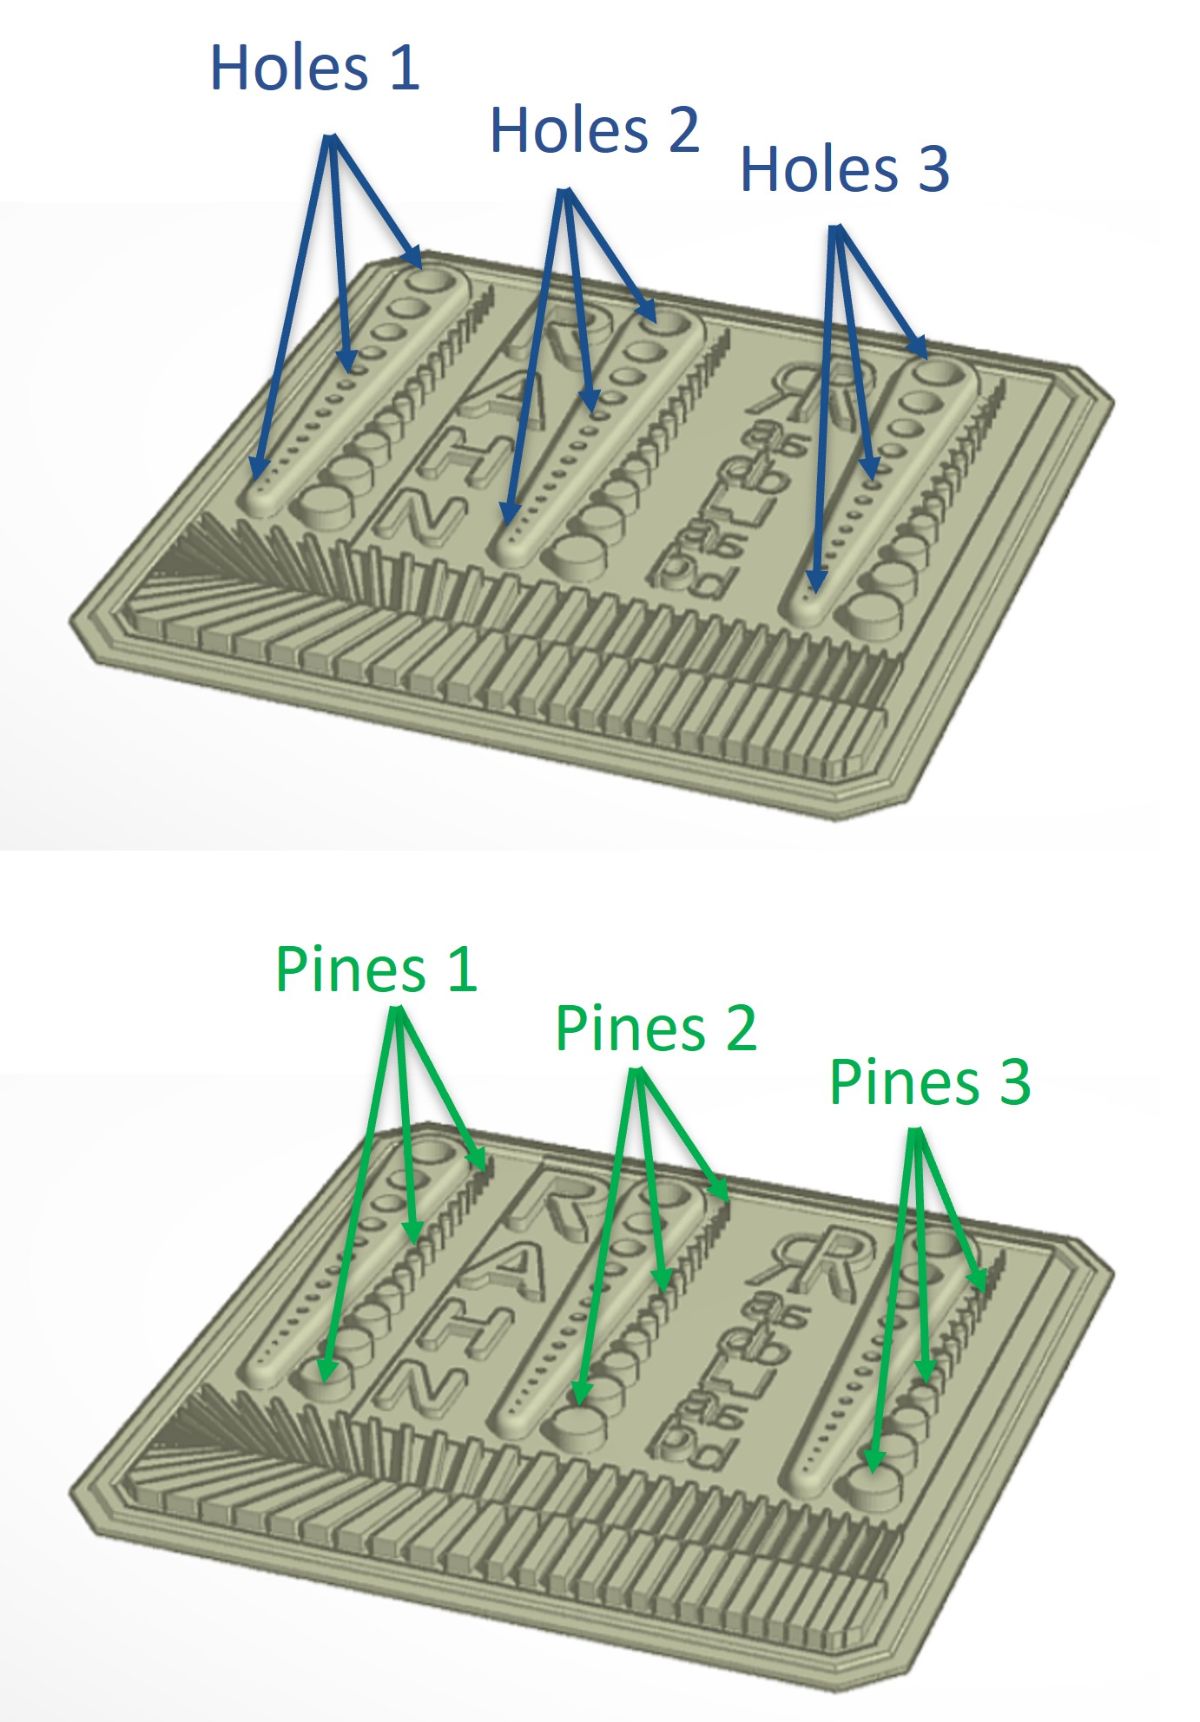
STL file of the calibration part V5
Printed and cleaned calibration part
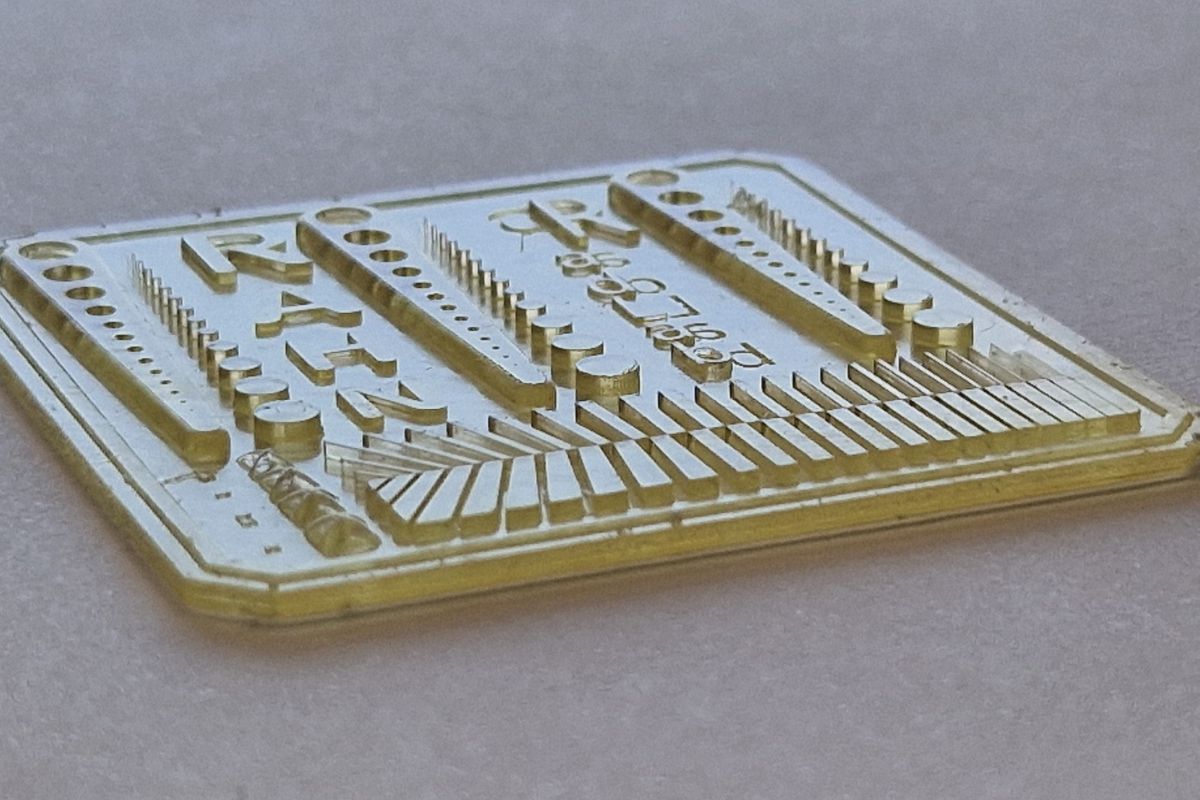
The most effective test templates include:
Together, these features reveal how exposure time influences dimensional accuracy, surface quality, and structural integrity.
Download the Calibration Template (STL File – V5): Get the exact test model used in this guide to calibrate your resin 3D printer
Start with the proven STL template to ensure a consistent baseline for printer calibration.
To estimate initial exposure time, Jacobs parameters (Ec and Dp) can help classify the resin as fast- or slow-curing. However, a practical starting point is often more effective.
Recommended Settings:
For low-intensity printers (405 nm, 3 mW/cm²):
For high-intensity printers (385 nm, 10 mW/cm²):
Suction-related noise during printing may indicate potential defects. If observed, consider:
Post-print adhesion to the build platform should be evaluated:
Delamination issues (see image below) may signal insufficient bottom layer exposure. Solutions include:
Additional Adhesion Enhancers (Recommended concentration: >15%)
Adhesion performance may vary depending on the build platform material (e.g., aluminum, steel).
Calibration part with visible delamination on the edge caused by low bottom exposure time.
Another defect commonly seen in fast printing is the absence of layers on the part, as illustrated in the image below.
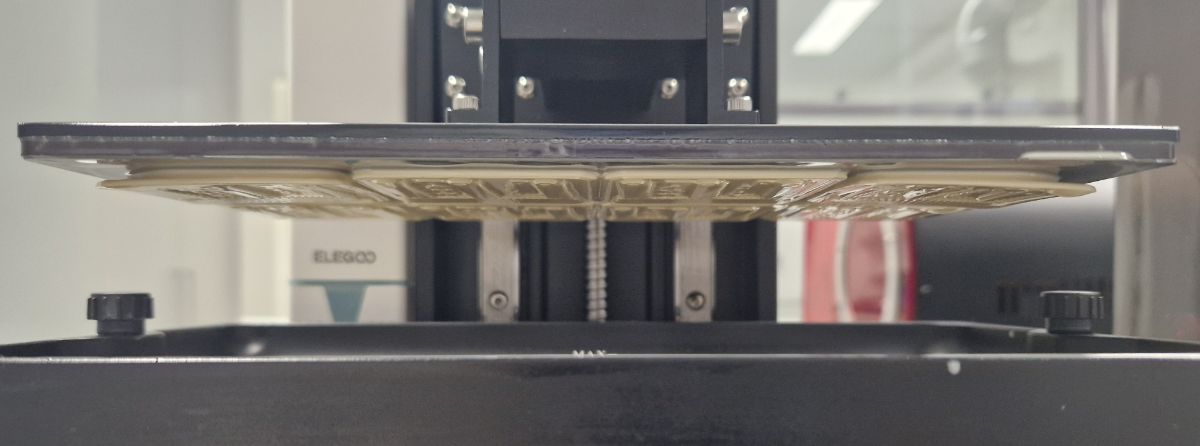
Resin did not have time to recoat the FEP film and some layers are missing. High viscosity resin is responsible.
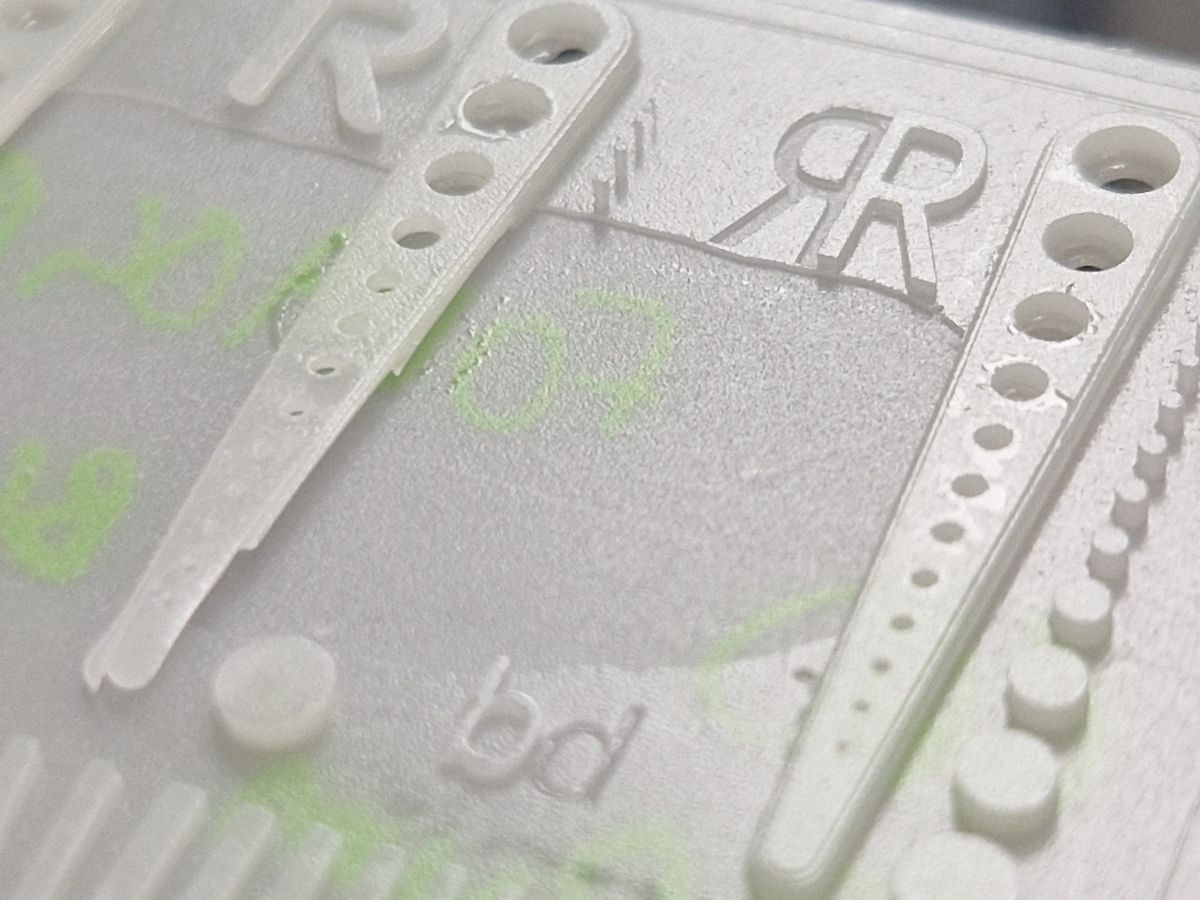
Increasing delay between layer allows to print high viscosity material without printing issues.
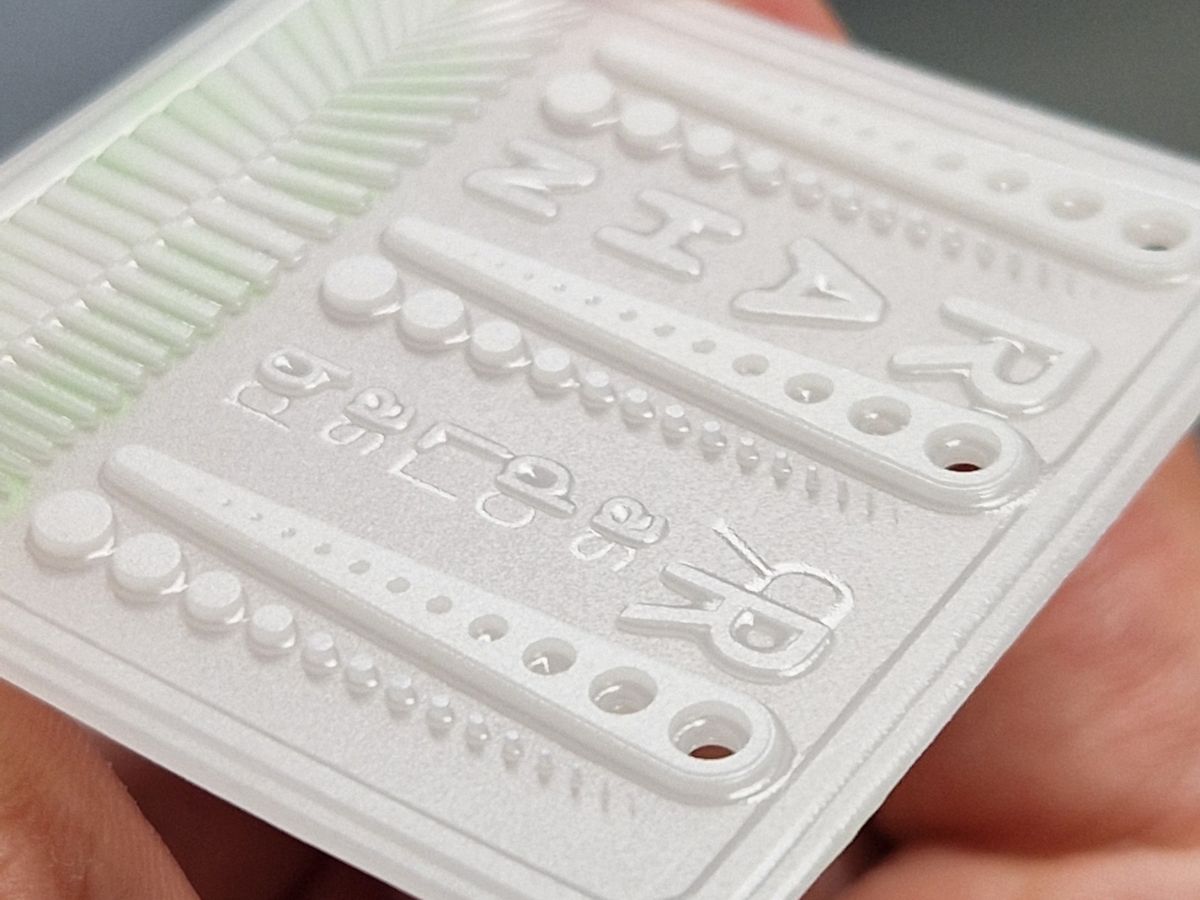
The resin used in this case had a viscosity exceeding 2 Pa·s, which hindered proper recoating between layers. Consequently, some intermediate layers cured unevenly, resulting in a relief effect on surfaces that were intended to be flat.
Solution: Increase wait time between layers
To allow the resin to fully recoat, the following adjustments are recommended:
Pros:
Cons:
Alternative Techniques
Chemical Adjustments
Post-Processing
After cleaning the part of residual resin:
Final Inspection
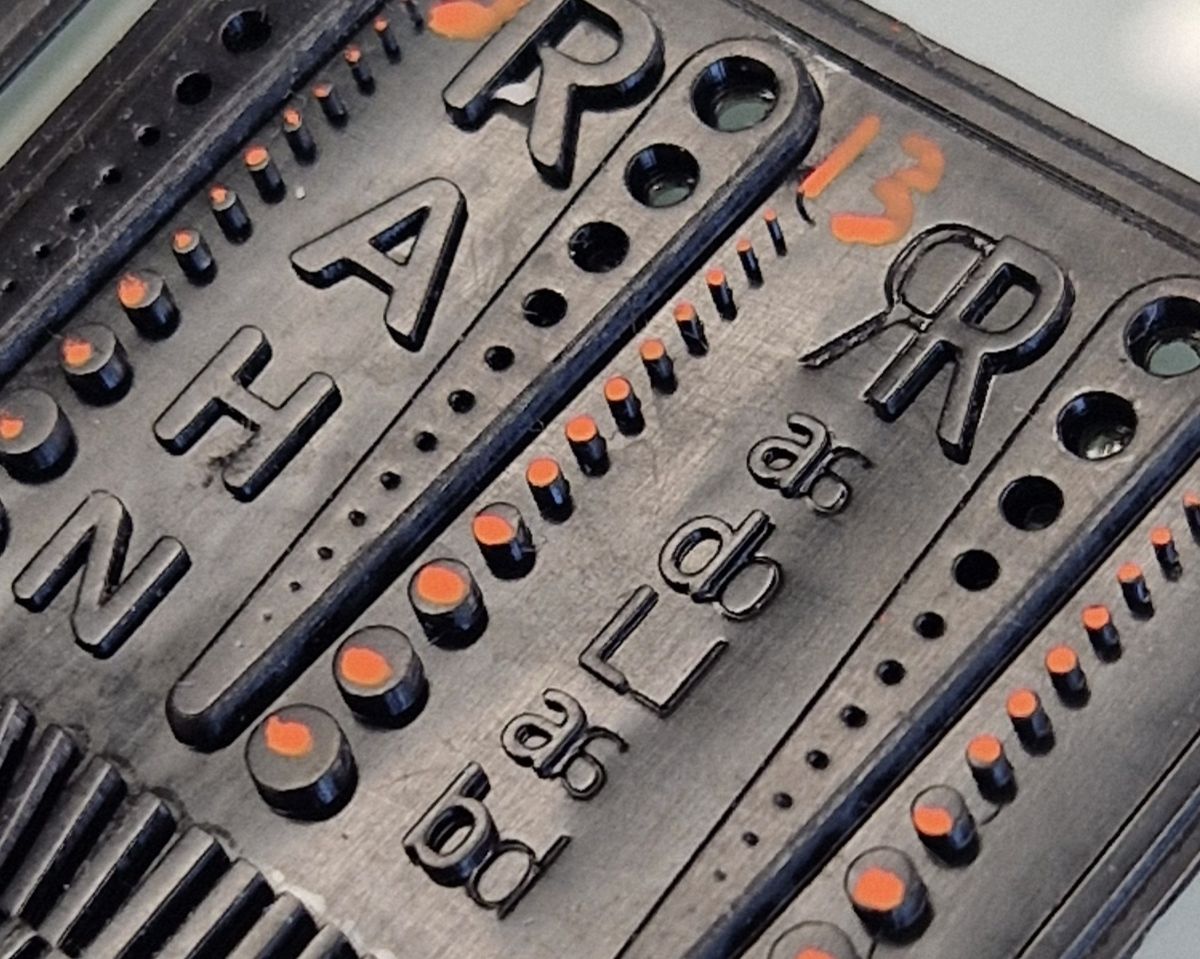
Once post-curing is complete, inspect pins, holes, and other fine details to ensure dimensional accuracy and surface quality.
This evaluation step is a critical checkpoint in 3D printing calibration, allowing exposure accuracy and dimensional fidelity to be assessed using measurable features.
Perfect fit
Pins too large/ don’t fit
More Pins Than Holes:
Less Pins Than Holes:
Misaligned Layers or Fractures
Possible Causes:
Issues: Calibration print sticking too much / bottom layer holes filled
Number of pins = 11
Number of holes = 13 (defect on the edge which is incomplete)
Pins < holes: Increases time per layer
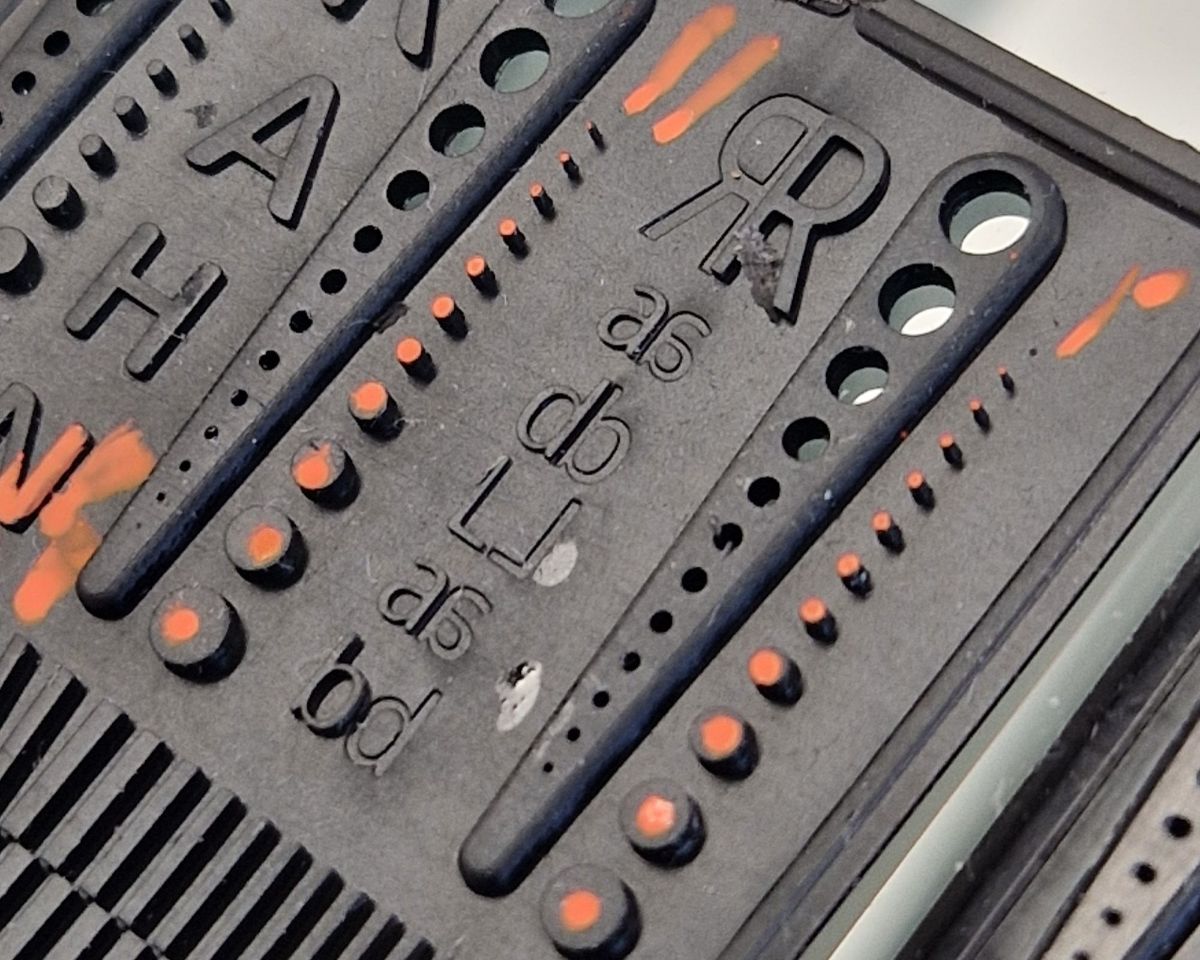
Number of pins = 13
Number of holes = 13
Pins = holes: Printing should be fine
To improve the sharpness of fine features without extending layer exposure or overall print duration, consider the following:
Additive Boosting:
Incorporate 5–10% of suitable additives to enhance feature resolution:
Photoinitiator Optimization:
Increase the concentration of photoinitiators to boost reactivity:
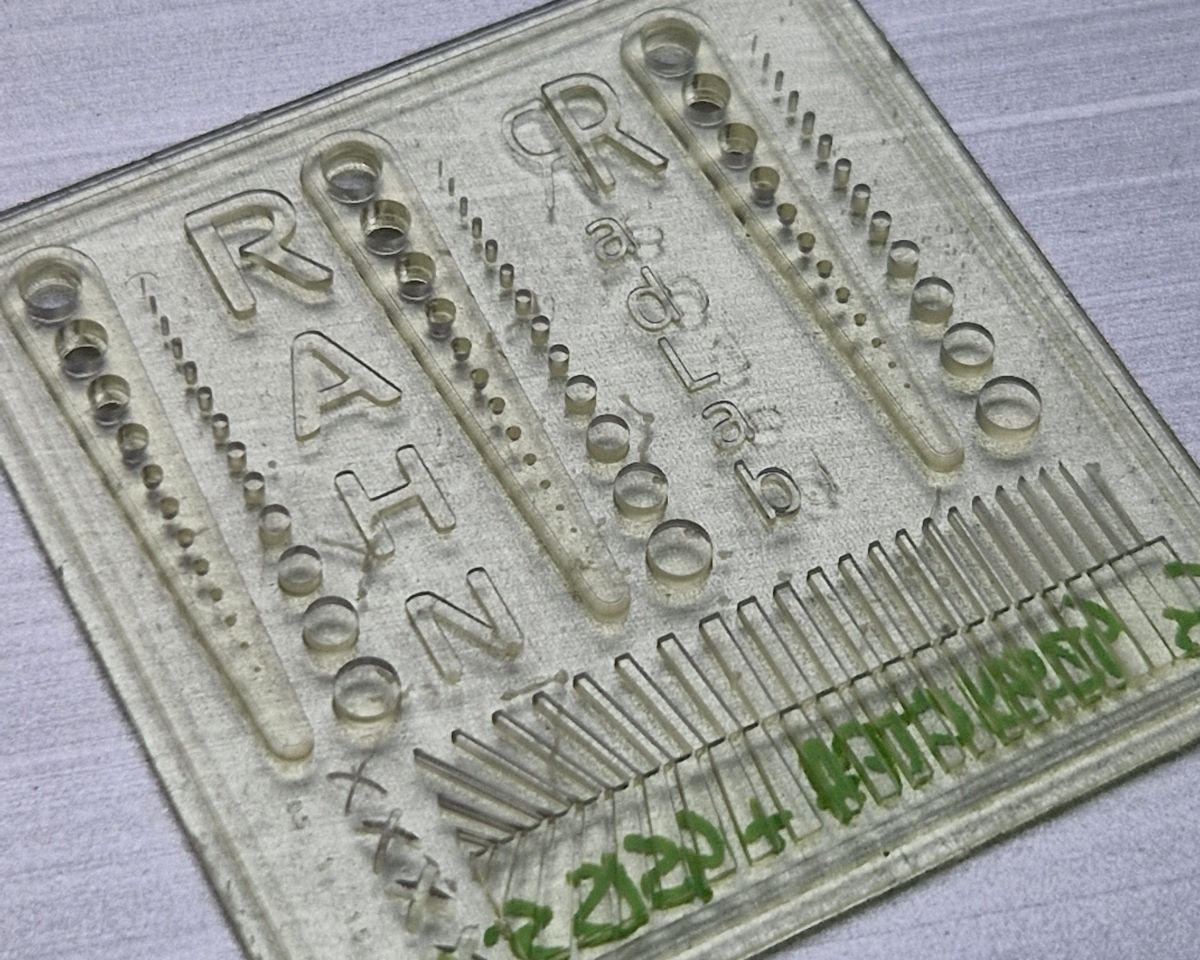
In the following picture we used 5% of GENOMER* 4515 to keep the same exposure time and improves resolution of the part.
5 s/layer: slow green strength build-up, loss of 3D details (pins/bars missing).
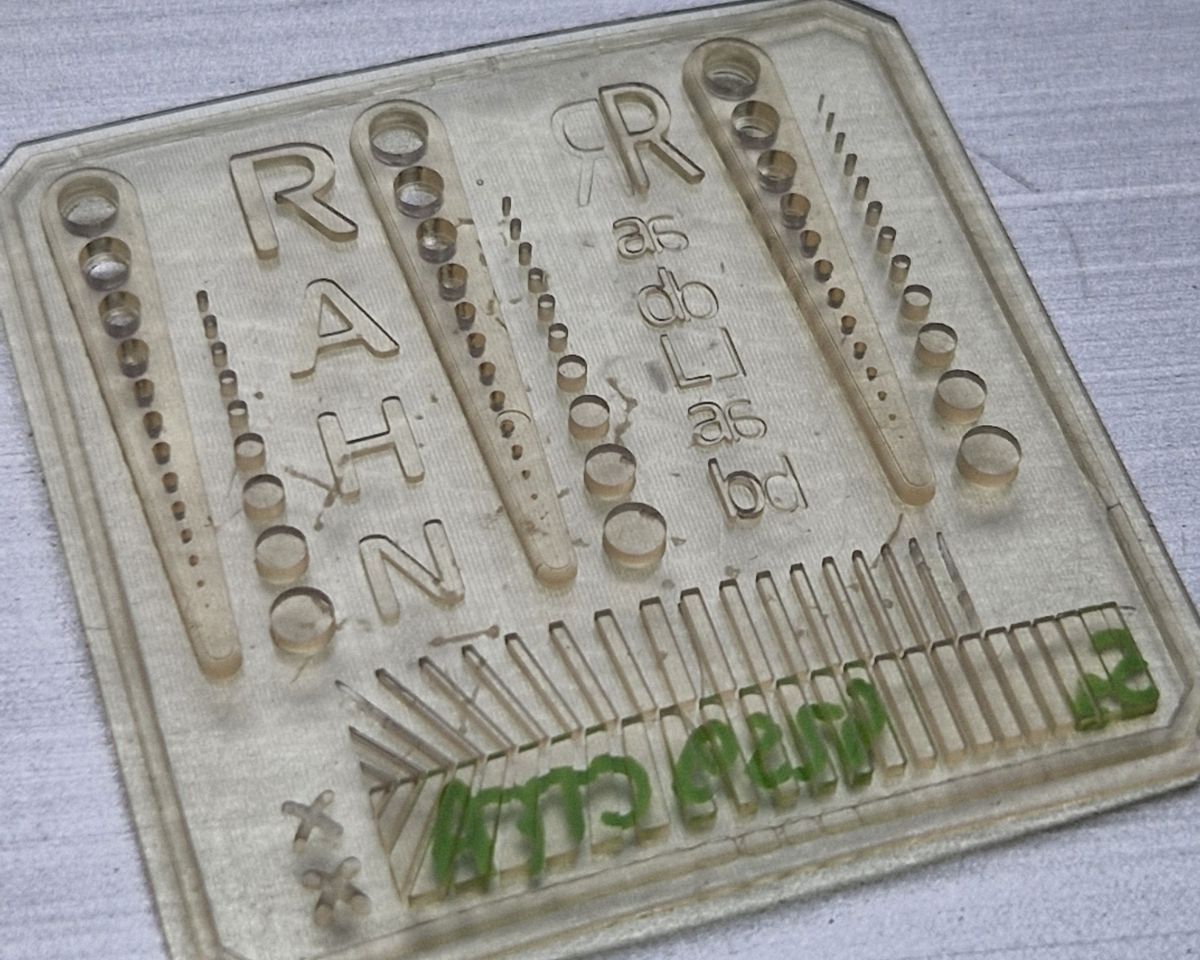
+ 5% GENOMER* 4515 – 5 s/layer: faster print giving stronger green strength and no detail loss.
When layer exposure time is too long, fine features such as holes and small geometries may become overcured and disappear.
To maintain intricate details:
The following image illustrates the effect of overexposure on features.
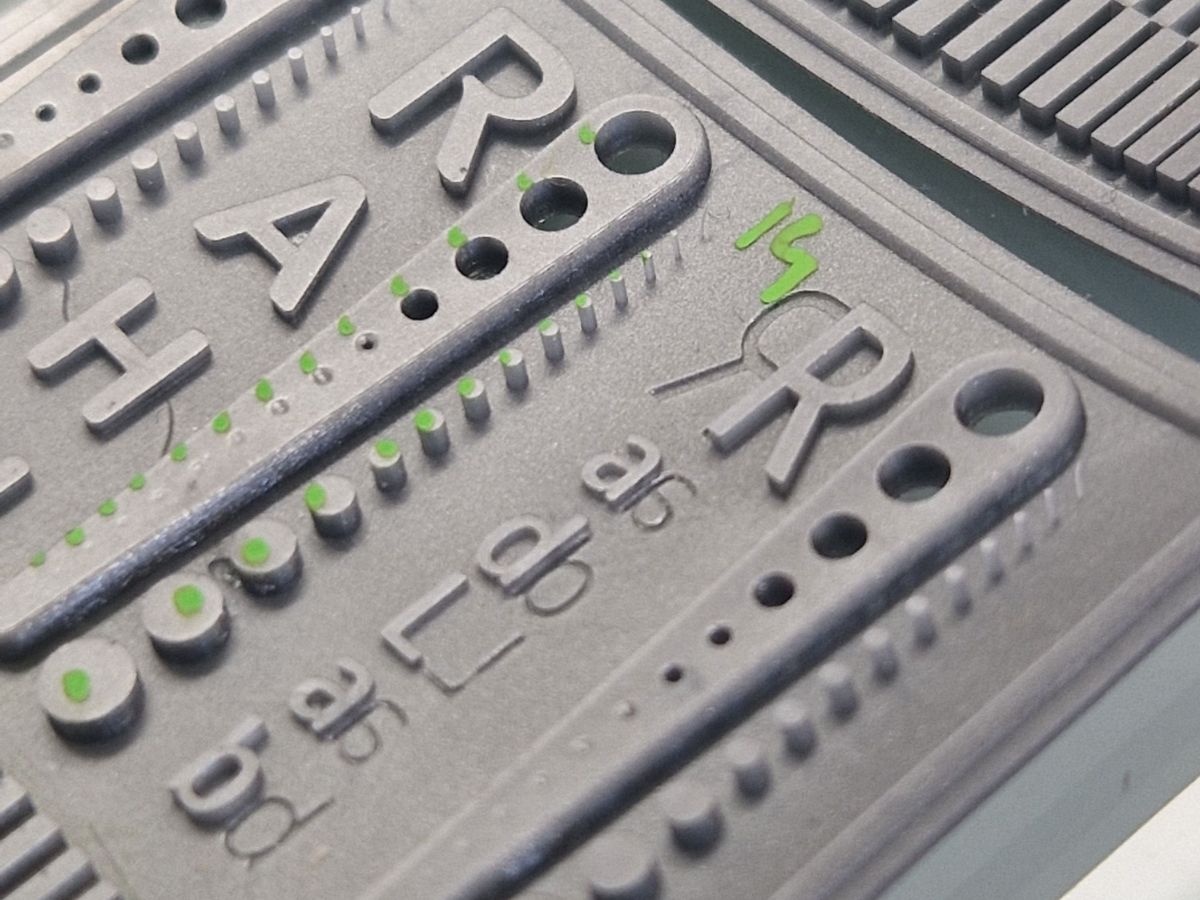
Number of pins = 14
Holes are hardly visible = 6–7
Pins > Holes = Reduce time per layer or add resolution improver
In the V5 update of the calibration part, we’ve added Z-resolution details.
Feature Resolution Assessment
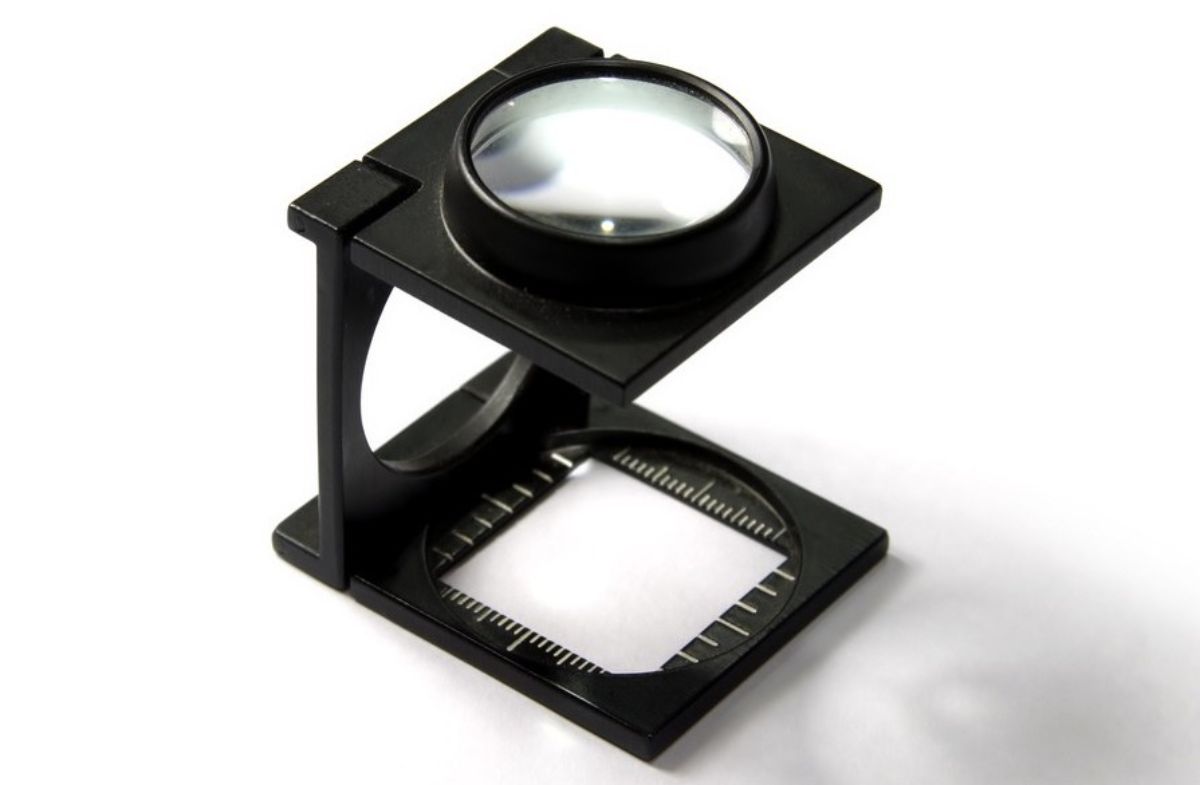
To evaluate whether ultra-fine features – such as 50-micron walls – can be reliably printed, a wire test or visual inspection using a loupe or smartphone camera is often sufficient.
Since 3D printing enables the fabrication of highly detailed components, this calibration step is essential, especially for parts involving:
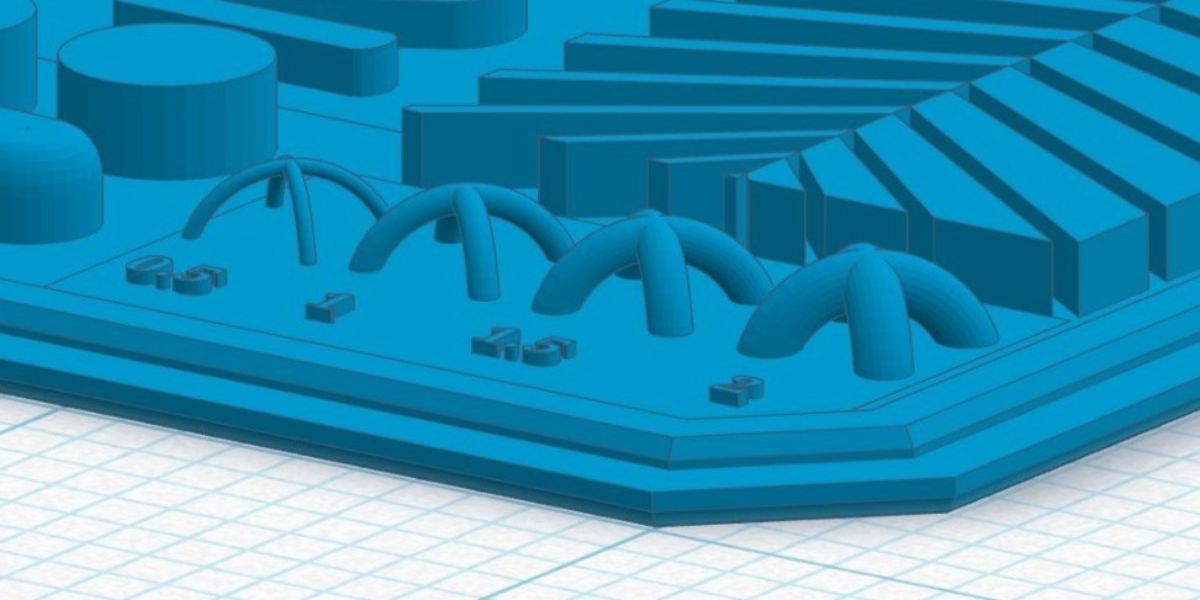
3D file with bridge to assess the z resolution.
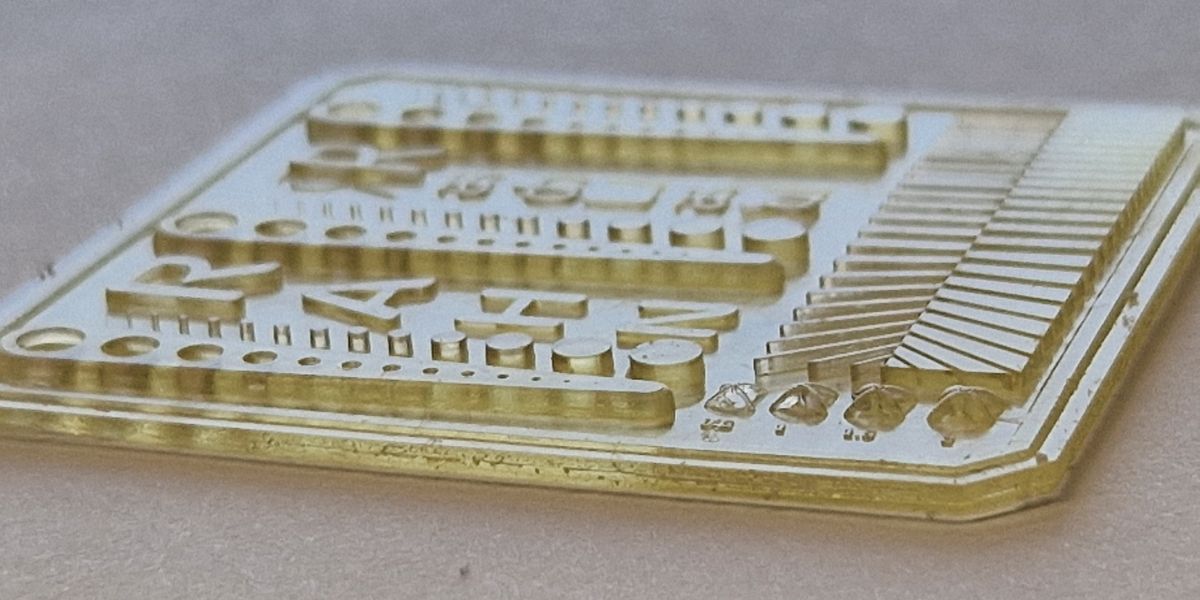
Printing of the calibration part with a specific time per layer and 50microns layer.
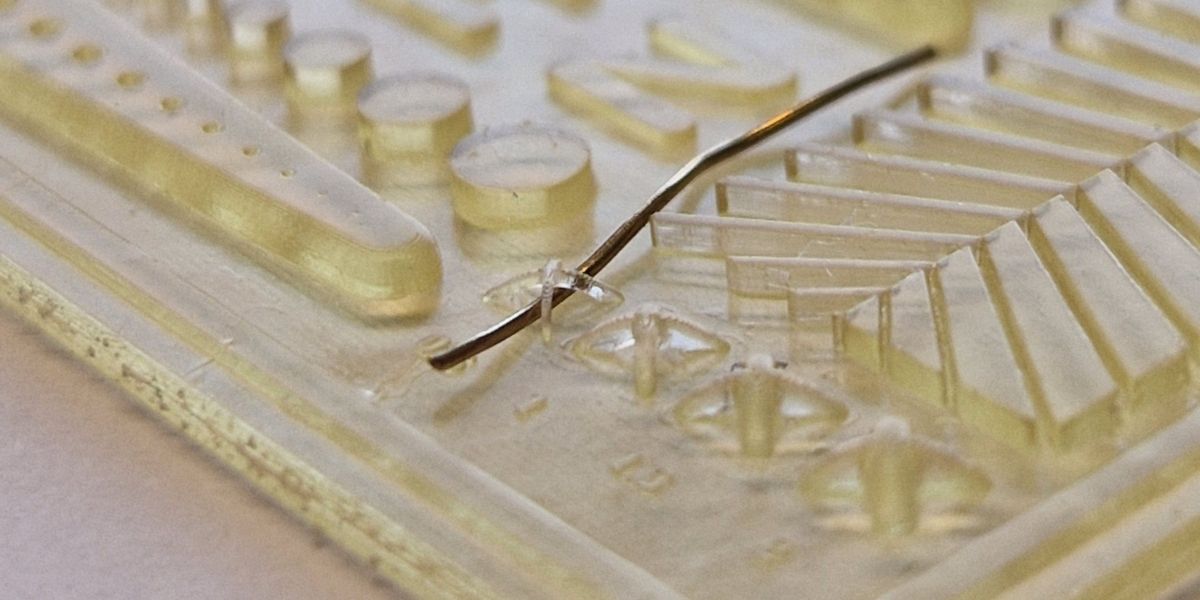
A wire is used to evaluate if the z resolution is good
Calibration Through Iterative Testing
Run multiple test prints with incremental exposure adjustments to fine-tune settings. Track each result in a logbook or spreadsheet, noting key environmental factors such as:
Calibration should be revisited whenever changes occur that may influence exposure behavior or print consistency. Recalibration is recommended after adjustments to exposure settings, changes in resin formulation or batch, variations in ambient temperature, or modifications to printer hardware or light intensity.
Regular verification using a calibration template helps maintain dimensional accuracy and ensures consistent print quality over time.
3D printing calibration is not a one-time task – it's an ongoing process that protects against wasted time, material, and frustration. By integrating a precision calibration template into your workflow, you establish a reliable foundation for accurate printer calibration and unlock the full potential of photopolymer resin 3D printing.
This structured 3D printer calibration guide helps ensure your prints consistently meet the high standards required for both industrial and artistic applications.
Ready to fine-tune your process? Download our free calibration template and start printing with confidence
A properly calibrated printer produces calibration parts where pins and holes match as designed, with clean edges, consistent layers, and well-defined fine details. Mismatches, missing features, or filled holes typically indicate under- or overexposure.
Overexposure often results in pins that are too large, missing holes, or loss of fine details due to excessive curing. Underexposure may cause missing pins, weak green parts, delamination, or incomplete layers.
Calibration outcomes can vary due to changes in resin viscosity, resin batch, ambient temperature, light intensity, or recoating behavior between layers. These factors influence how the resin flows and cures during printing.
Yes. High-viscosity resins may not fully recoat between layers, leading to missing or uneven layers. In such cases, increasing the lifting distance or light-off delay helps ensure proper recoating and consistent curing.
Yes. Any change in resin composition, including the addition of reactive diluents, adhesion promoters, or reactivity boosters, can alter curing behavior and should be followed by a calibration check.
RAHN AG