
Roger Küng
Head of Operations EnergyCuringRAHN AG

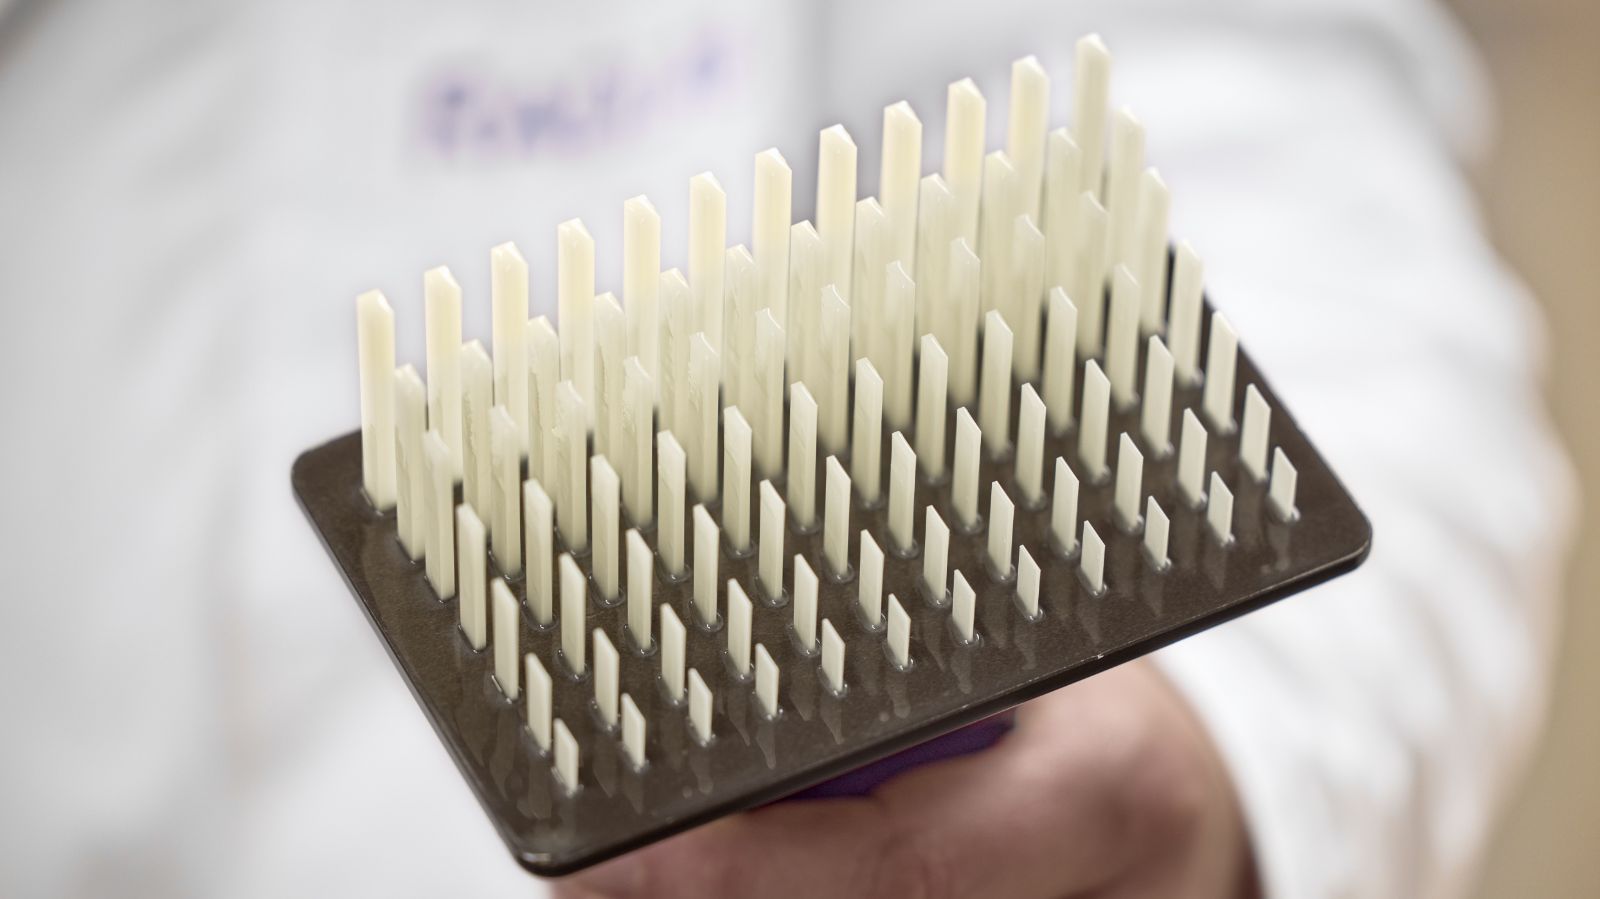
In 3D printing using photopolymers (SLA, DLP, and LCD, inkjet, volumetric, etc.) post-processing is not a cosmetic afterthought – it's a functional necessity.
Photopolymer-based prints emerge from the printer in a chemically incomplete state. Without proper post-processing, these parts often fall short in mechanical stability, dimensional accuracy, thermal performance, and appearance.
Immediately after printing, photopolymer parts often exhibit surface tackiness, a result of uncured resin remnants. These residual materials, which include irritant liquids and unreacted photoinitiators, remain on or near the surface and must be properly removed and cured.
Uncured or partially cured photopolymer parts are also highly sensitive to moisture. Water can penetrate the surface, especially in parts with a loosely crosslinked network, leading to swelling, degradation, or long-term mechanical instability.
Photopolymer prints often require support structures, which leave visible scars on the surface after removal. These not only detract from visual quality but can also interfere with functional interfaces, such as sealing edges or mechanical fit zones.
Even though the printed part appears solid, the photopolymer network is not fully formed after initial exposure. Photopolymerization halts prematurely once vitrification occurs – a point at which the network becomes glassy, restricting the movement of remaining reactive species. These species become trapped in the matrix, limiting further curing unless post-processing is applied.
This results in:
In other words, the printed object lacks full structural integrity until post-curing drives the network toward complete crosslinking.
Post-processing isn't optional – it's the final stage in completing polymerization. It eliminates unreacted components, solidifies mechanical and thermal properties, and restores the part’s intended performance envelope. Only through disciplined post-processing can photopolymer parts meet their design requirements in real-world use.
Support structures are essential in SLA 3D Printing, DLP, and LCD printing, especially for overhangs, bridges, and complex geometries. However, their removal is one of the most delicate and potentially damaging steps in post-processing. Without a careful approach, support removal can leave scars, deform soft features, or even cause breakage in thin-walled or detailed areas.
The first line of defense in minimizing post-processing damage is using the right tools and following a consistent workflow.
Demonstration from our RadLab
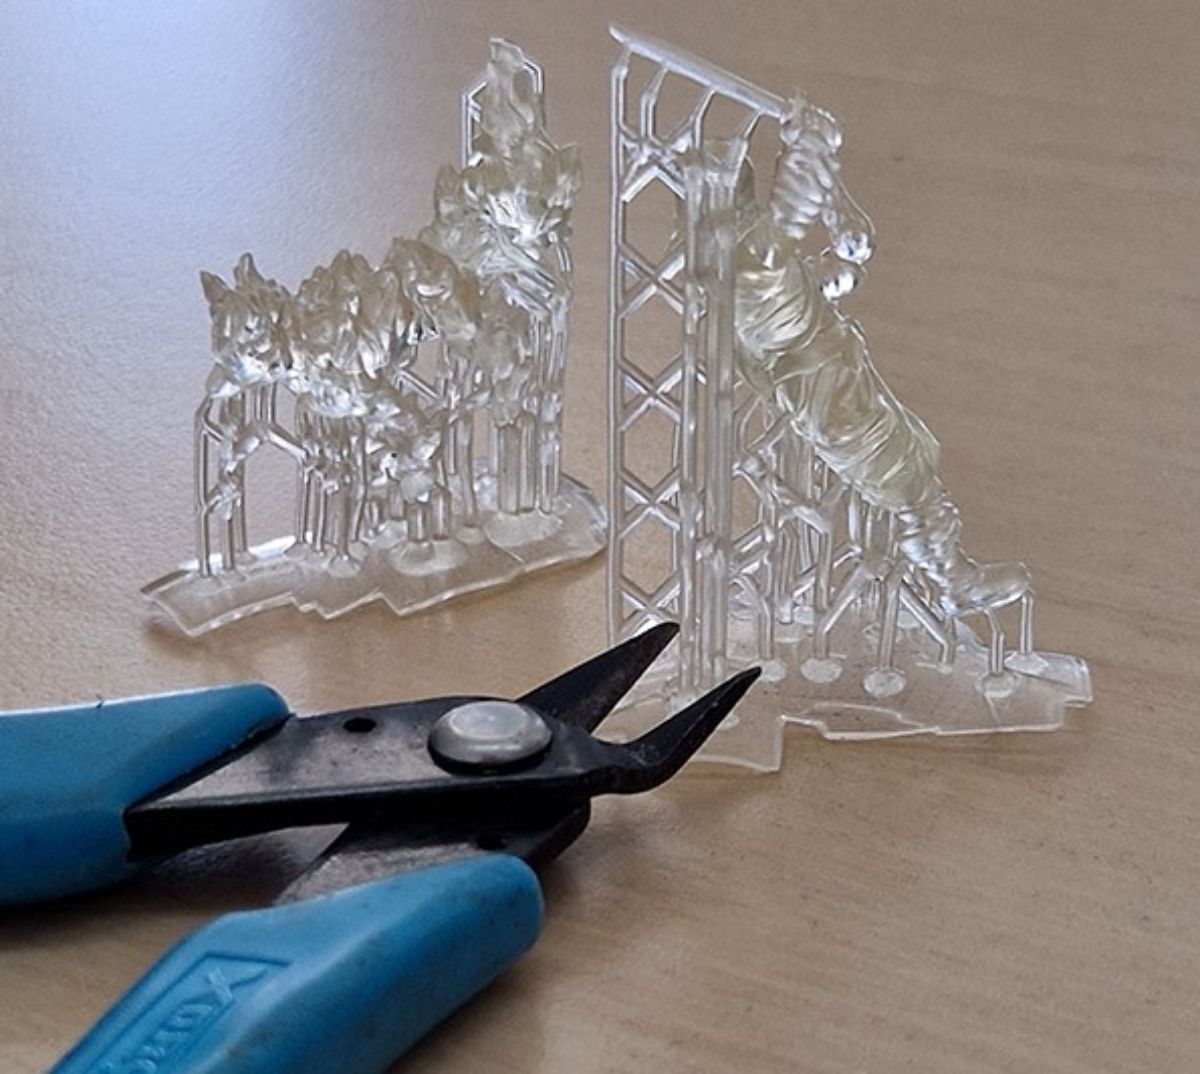
Support removal effort is heavily influenced by build orientation, which affects both the number and placement of supports.
Orienting the part to:
…can significantly reduce post-processing time and improve the final surface finish. Strategic orientation decisions made during slicing directly impact how labor-intensive and clean the support removal process will be.
After support removal and full post-curing, photopolymer parts often require additional finishing steps to improve surface quality, functionality, and visual appearance. This is especially true for end-use parts or presentation-quality prototypes where visible artifacts, roughness, or minor defects are unacceptable. Surface preparation for photopolymers follows a structured approach: mechanical refinement, surface leveling, and optionally, sealing or coating.
Sanding is the primary method for mechanically refining photopolymer surfaces. It is essential that sanding and polishing be performed only after full post-cure, as uncured or partially cured parts remain soft, sticky, or dimensionally unstable. Sanding too early can distort delicate features or smear uncured resin across the surface.
This technique is best suited for rigid photopolymer resins with high modulus and thermal stability, such as GENOMER* 2297 and 2281, which respond well to fine abrasives. Sanding is typically used to:
Progressive sanding from coarse to fine grit followed by polishing compounds can achieve a near-gloss finish on flat areas of rigid parts.
In cases where sanding alone cannot achieve a perfectly smooth finish – particularly in recessed or detailed regions – resin-compatible fillers or UV-curable surface solutions can be applied. These materials are formulated to bond well with photopolymer substrates and cure without interfering with downstream coatings or adhesives.
Filling and priming is commonly used to:
This step is often paired with sanding for high-smoothness applications, ensuring a clean base for finishing layers.
Final coatings are applied for both functional and aesthetic reasons. Using a brush or spray, operators can apply clear or pigmented resins, epoxies, or sealants that:
These coatings work best when applied to fully cured, rigid, and well-prepared surfaces, often after sanding and priming. A clear epoxy topcoat, for example, not only smooths the surface but also protects the part from environmental exposure and mechanical wear.
Without post-curing, photopolymer parts remain underdeveloped in terms of mechanical integrity, dimensional stability, and thermal behavior. Proper post-cure is essential for achieving the full performance potential defined by the resin formulation.
Without post-curing, photopolymer parts remain underdeveloped in terms of mechanical integrity, dimensional stability, and thermal behavior.
Proper post-cure is essential for achieving the full performance potential defined by the resin formulation
Key enhancements resulting from proper post-curing include:
Post-curing is particularly important when the part must withstand mechanical loads, thermal cycling, or long-term exposure to moisture.
Extensive testing confirms that post-curing parameter – especially UV intensity, duration, and the inclusion of thermal curing – have a profound effect on the final properties of different photopolymer formulations.
RAHN’s starting point formulation (SPF) 1602 is a strong performer and exhibits dramatically better performance when UV curing is combined with thermal curing. The post-cure 4h at 405nm and 80°C (UV and temperature) resulted in:
These results demonstrate that not all resins respond equally to UV-only curing, and that resin-specific protocols are often required to meet performance targets.
Photoinitiator chemistry plays a central role in how a resin cures – both during printing and in post-curing.
A mismatch between initiator chemistry and light source can result in incomplete crosslinking, poor surface quality, or long-term degradation.
Post-processing methods are not one-size-fits-all. The optimal approach depends heavily on the specific photopolymer formulation, its mechanical profile, and how it responds to UV and thermal post-curing. Resin classes, whether rigid, toughened, or elastomeric, each require different handling to preserve performance and avoid degradation.
Rigid, high-modulus photopolymers like GENOMER* 2297 are well-suited to comprehensive post-curing, involving both UV exposure and thermal treatment. This dual-stage cure enables the material to reach its designed mechanical strength, stiffness, and thermal resistance.
These materials can tolerate and benefit from mechanical surface finishing techniques such as:
The rigidity and stability of these resins after full cure make them ideal for parts requiring precision surfaces, visual clarity, or durability under static load.
Elastomeric and 3D printing soft materials require more cautious handling during post-processing.
Instead of sanding or mechanical abrasion, sealing methods such as brush-on or spray coatings are preferred to protect the surface without compromising flexibility.
Maintaining the desired softness, rebound, and elongation requires careful balancing of cure time and intensity to avoid over-crosslinking.
RAHN’s lab results provide deeper insight into how specific resin types respond to post-curing strategies:
By understanding how each class of resin behaves during and after post-curing, users can select finishing techniques and curing protocols that align with the material's properties and performance goals. Tailored post-processing is key to maximizing function while minimizing unintended material changes.
Printing a part with SLA, DLP, or LCD technology is only the beginning of the photopolymer manufacturing process. What emerges from the build plate is not yet ready for functional use—it is chemically immature, dimensionally unstable, and mechanically underdeveloped. Only through proper post-processing does the part become a true representation of the resin’s intended performance.
The essential post-processing workflow follows a clear and deliberate progression:
Support Removal → Post-Cure → Surface Refinement → Optional Coatings
Each step builds on the previous one, transforming the raw print into a mechanically strong, thermally stable, and aesthetically finished part. Success with photopolymer prints depends heavily on:
In short, post-processing is not optional. It is the stage where mechanical, thermal, and visual properties are fully developed, where printed geometry becomes a functional, reliable component.
RAHN AG